


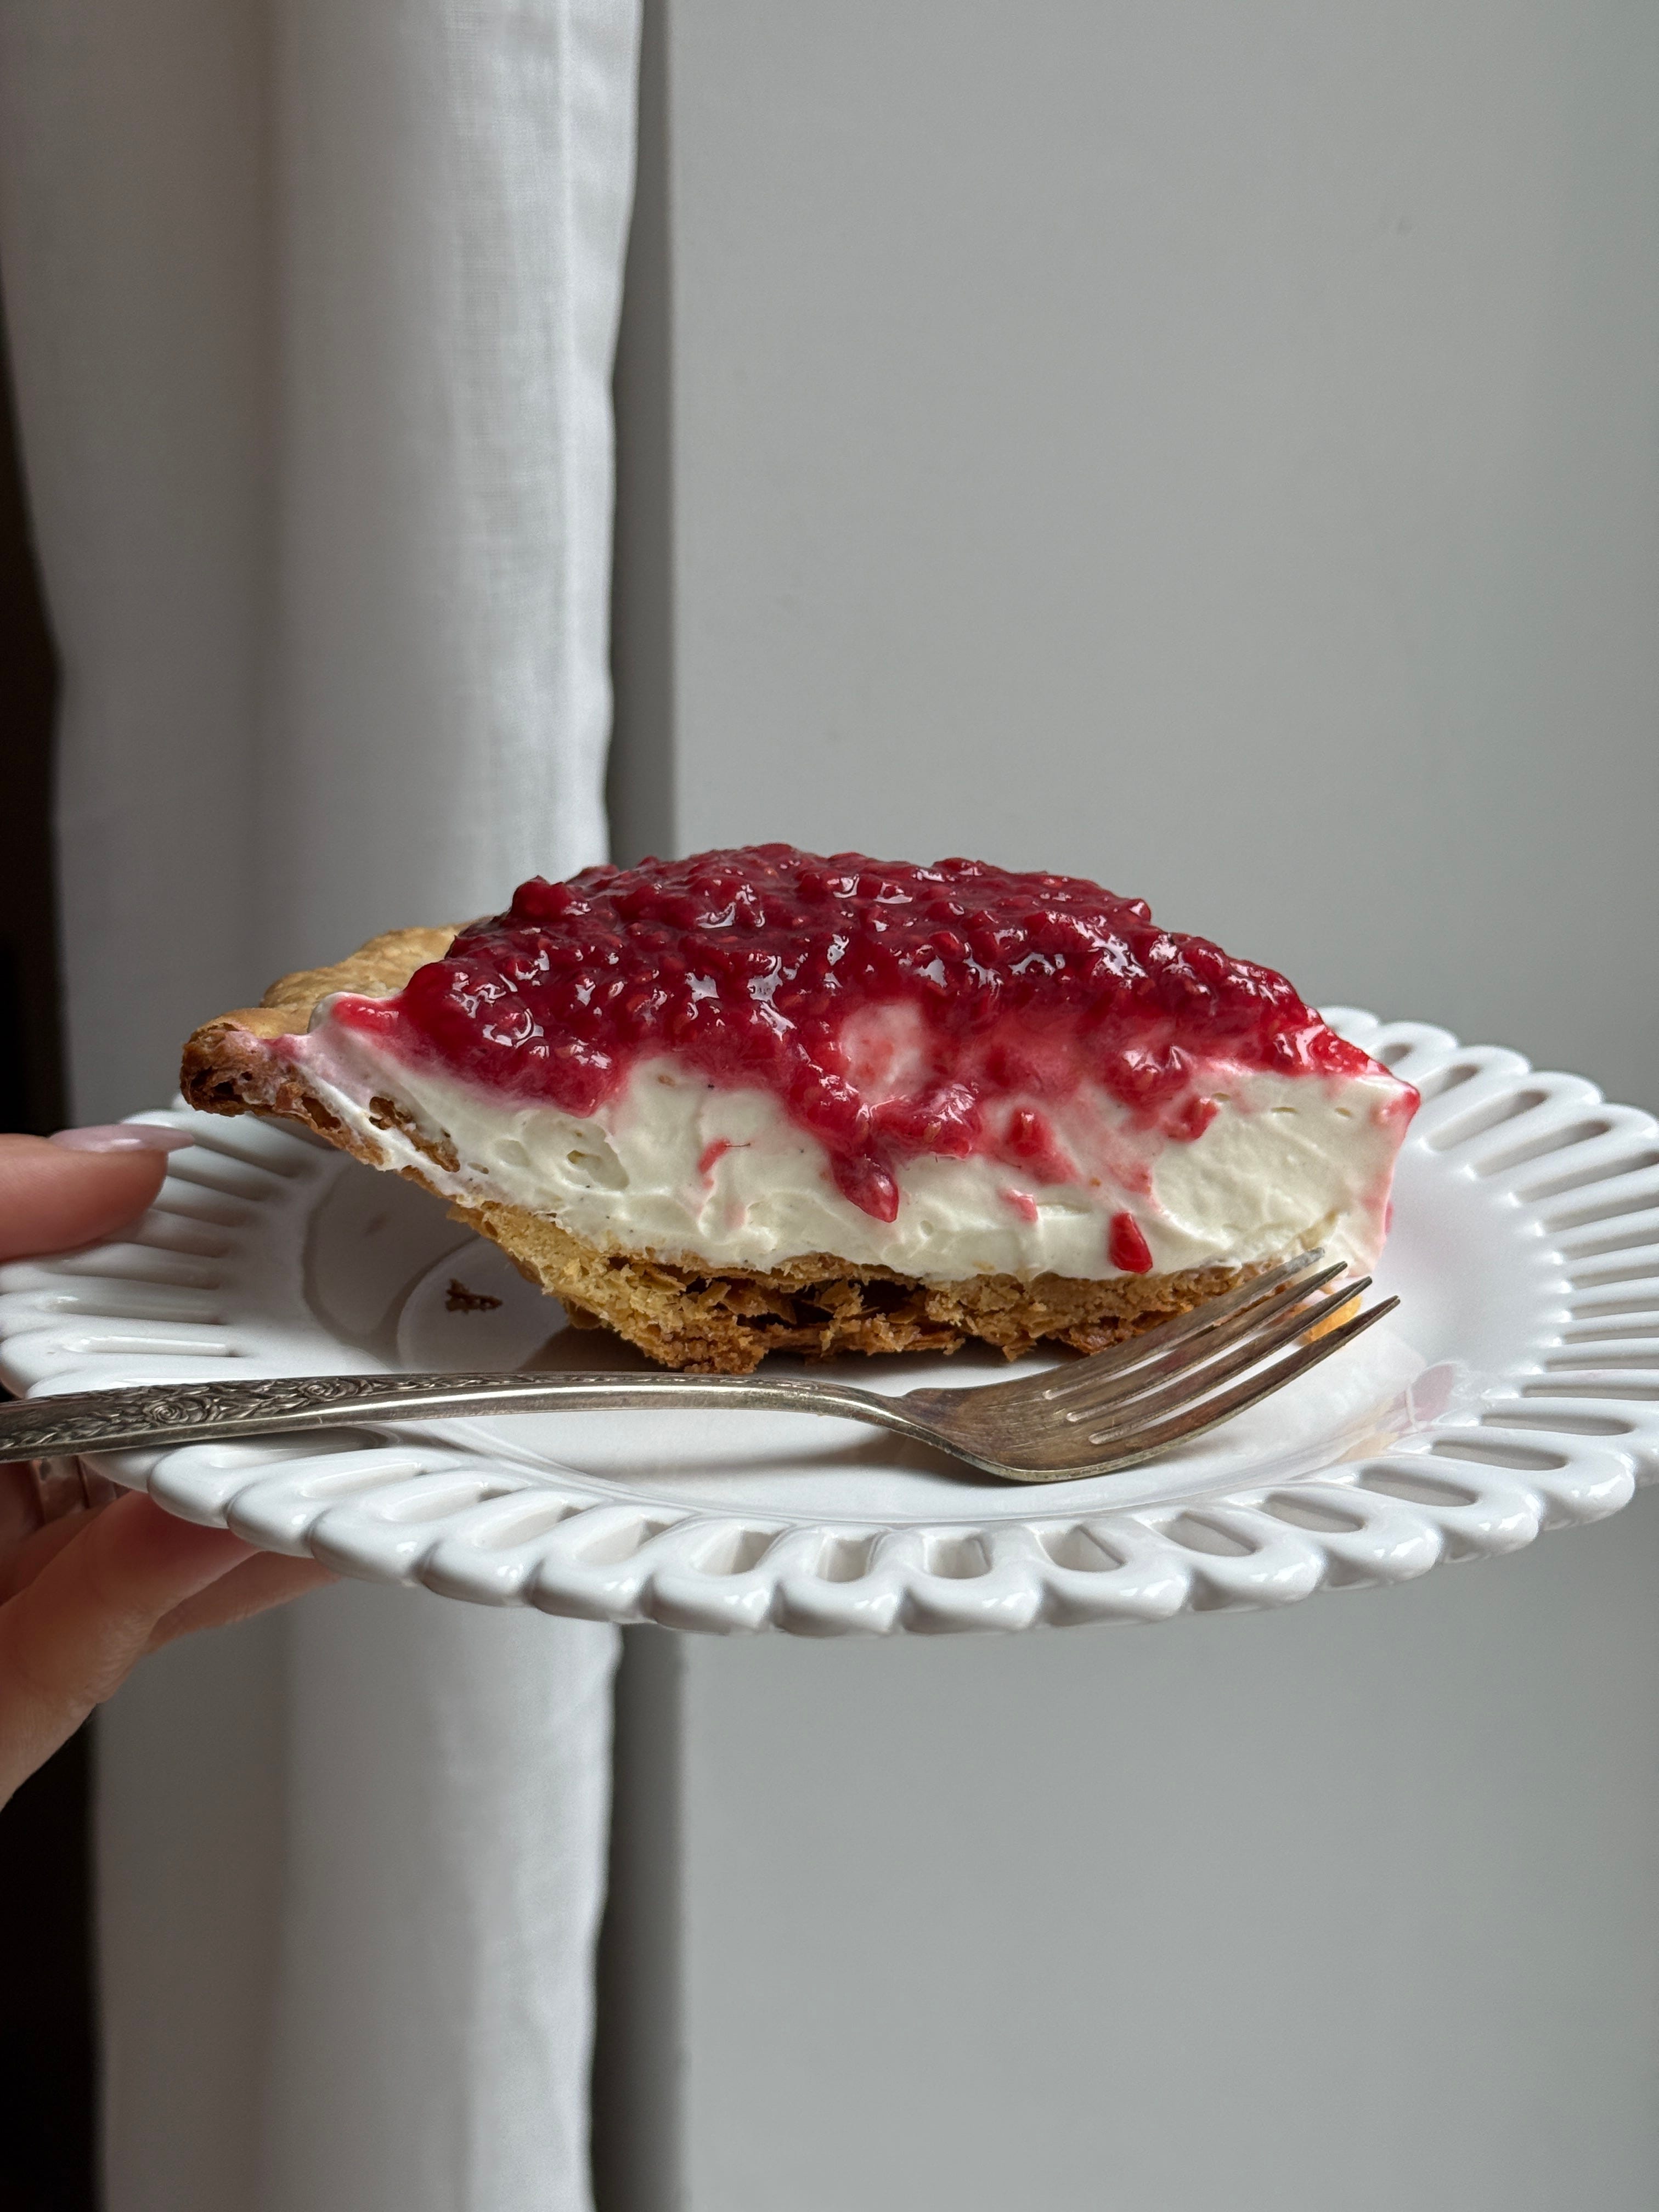
Briermere Farms Inspired Raspberry & Cream Pie
with an extra flaky all-butter pie crust

I first heard about Briermere Farms–a retail shop on the North Fork of Long Island known for its pies, baked goods, and produce–through my friend Monique. Since then, it’s come up so often in conversation and on Instagram that I decided: if I can’t easily get out there to try one, I might as well create something inspired by it at home.
That said, because I haven’t been to Briermere Farms myself, this isn’t a copycat recipe–just a version that’s heavily inspired by their style. I also heard from a reader that the original one has mascarpone in it…? I use cream cheese, which gives it a kind of no-bake cheesecake vibe, but you can definitely swap in mascarpone instead if you prefer a less tangy flavor.

(pst the app^^ makes it super easy to join the chat to ask your q’s!)


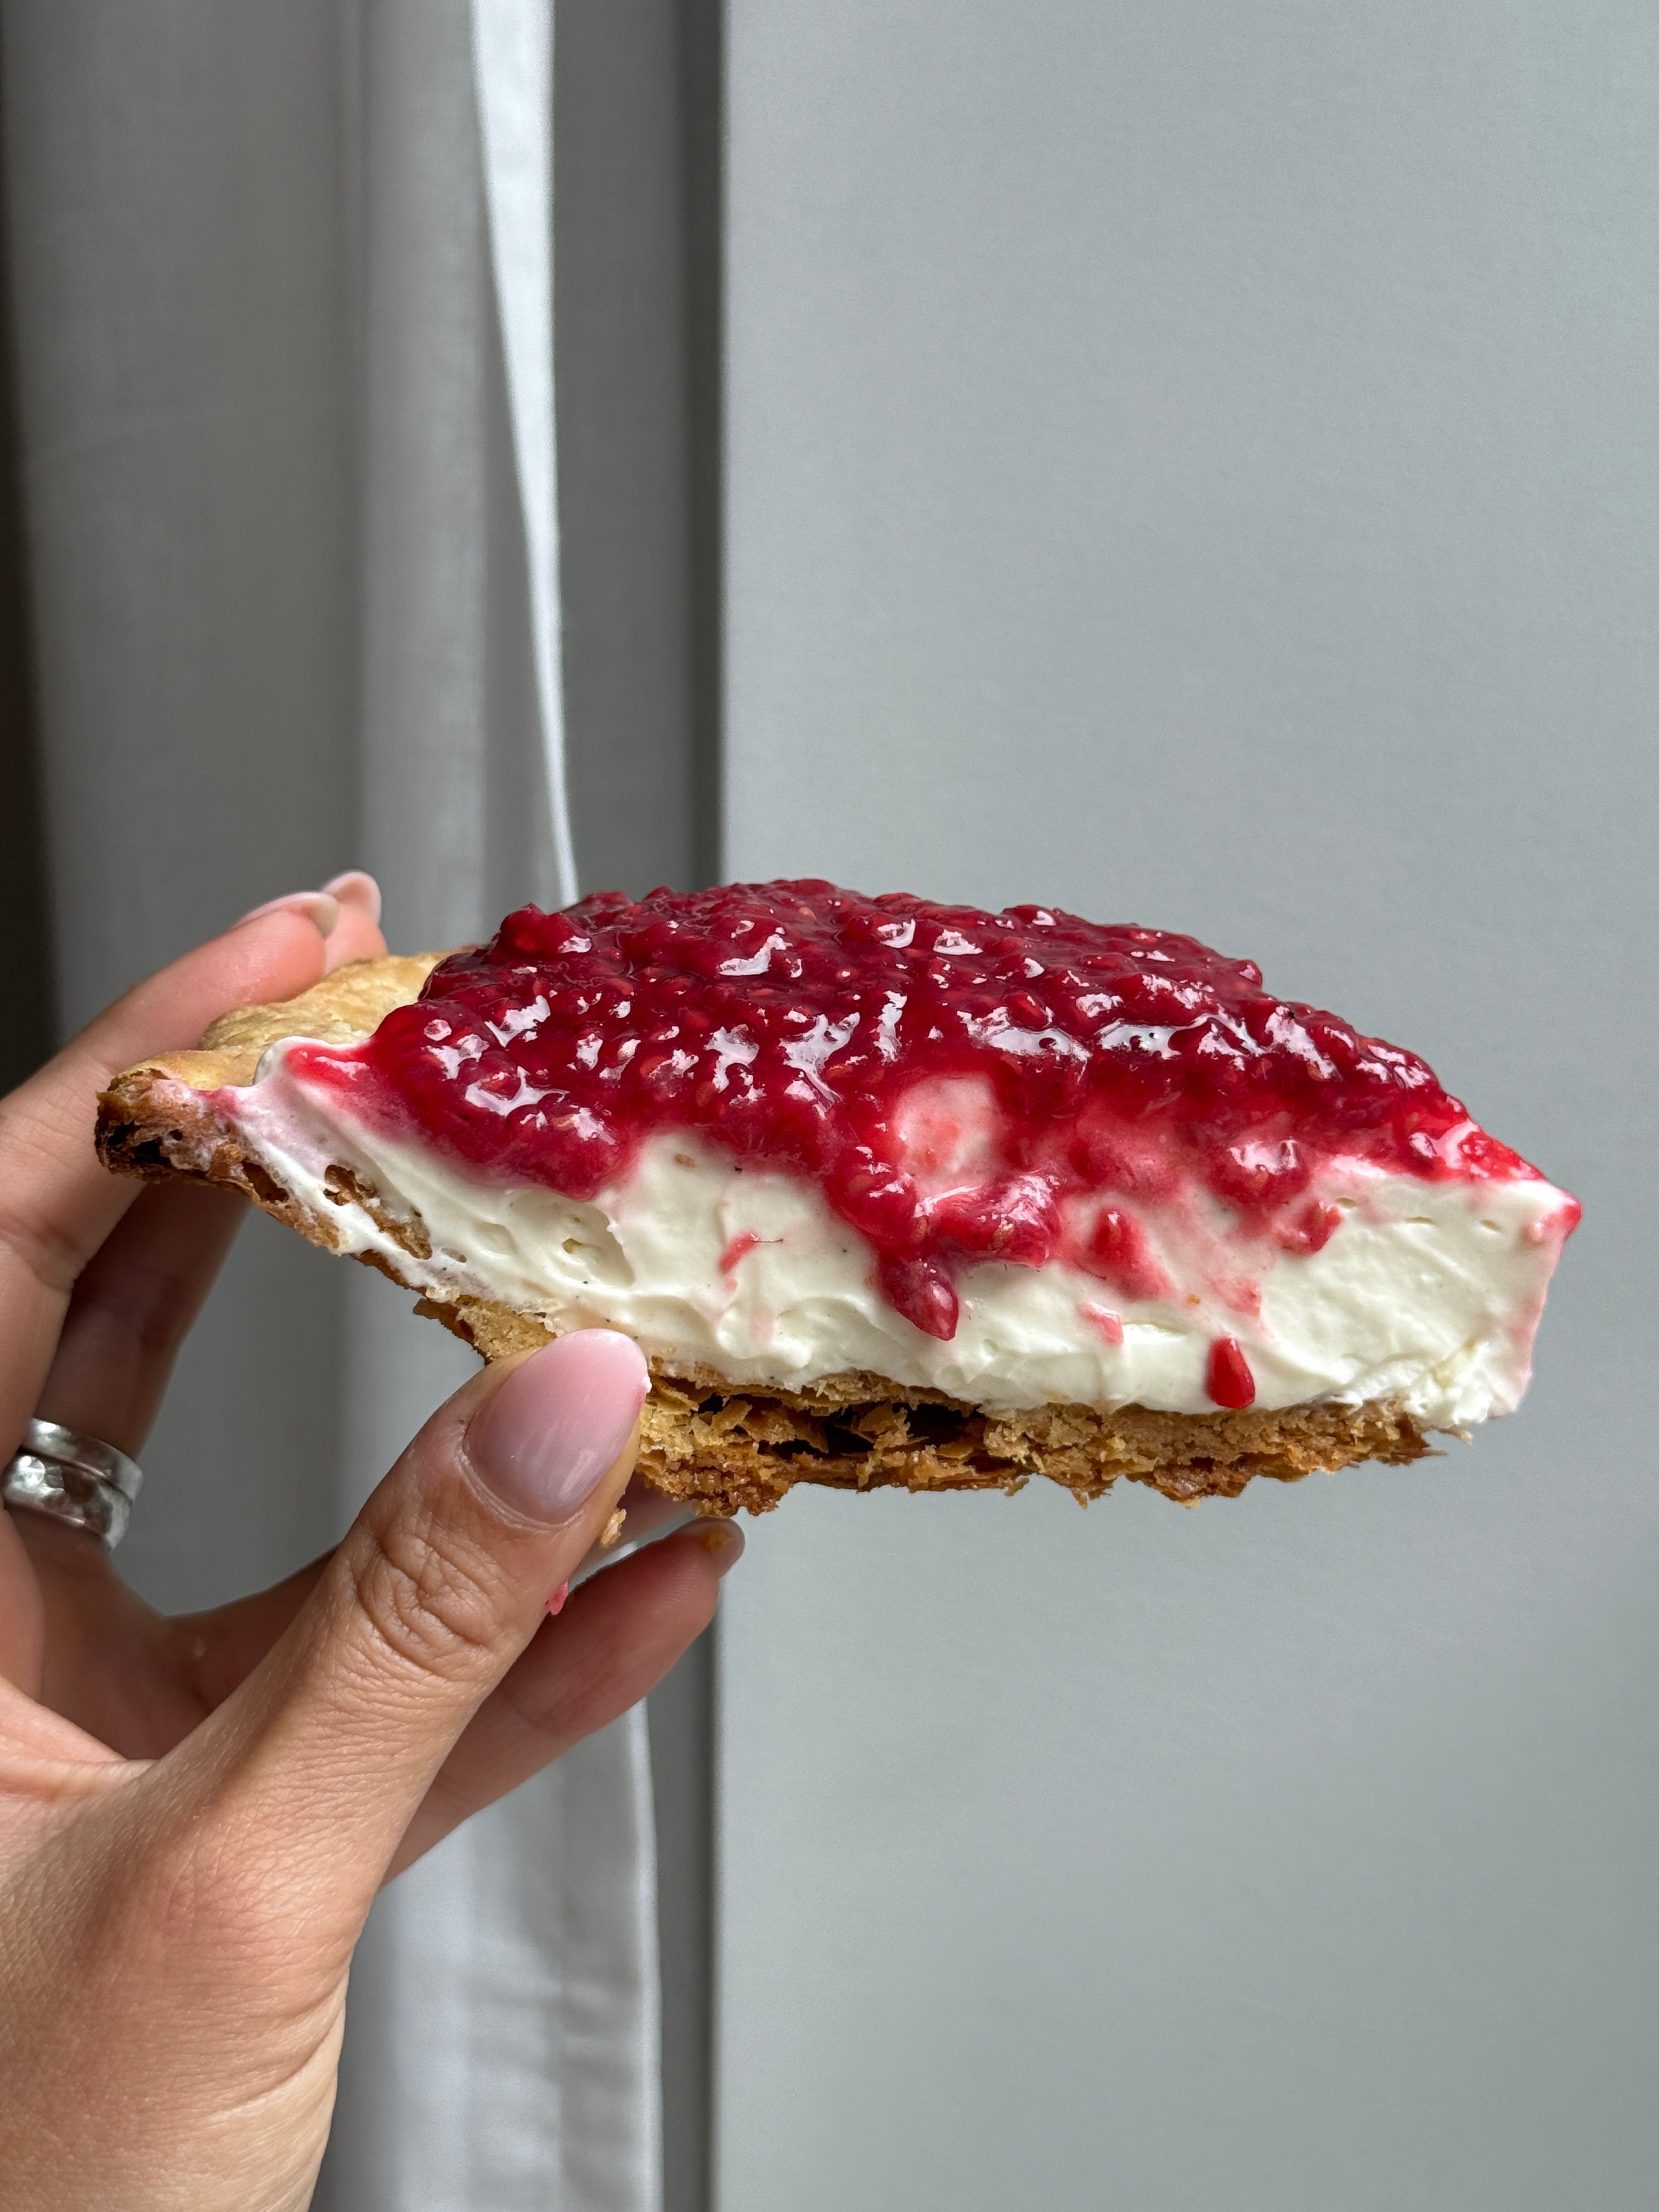
The raspberry jam and filling are both simple to make, with minimal ingredients and cook time. And while they’re both delicious, to me, the real star of this pie is the crust. Truthfully, I’ve never been a huge fan of pie crust until I started making it this way. It’s super flaky, sturdy, and uses a semi-lamination method (similar to making rough puff pastry) that gives it a crisp, almost caramelized texture. You could use another pie crust recipe, but I think this one adds something really special and makes the dessert feel more like a pastry than a traditional pie.
You can find the full pie crust recipe here.
Since I don’t know exactly how Briermere makes their jam layer, I went with a version that feels more like a soft compote–like fresh raspberries mashed and spooned on top. (You could technically do just that, but too much liquid would seep into the filling as it sits.) That’s why, unlike most jam recipes, this one doesn’t use lemon juice. Lemon juice helps fruit jam set more firmly, but I wanted this layer to stay loose and spoonable.
The first test
My first test was pretty close to the final version in flavor, but I realized the ratios were a little off. The layer of filling was too thick, and the jam layer felt too thin. While the filling was tasty, it made the pie feel a bit heavy. I also wanted the jam to be soft enough to ooze over the sides when you slice it gently.
The other change I made was to make the pie crust thicker. In the original test, the thin crust was nice and delicate, but I kept wishing there was more of it with each bite. For this final version, I increased the recipe by 1.5x to get a slightly thicker, flakier base.


Keep reading with a 7-day free trial
Subscribe to Nea Arentzen to keep reading this post and get 7 days of free access to the full post archives.